Quickstart
This guide outlines steps to get started with Archon SDK for Government.
Having trouble figuring something out? Have a question about the process? Call us at (628) 268-5792 or send an email to inquiries@archon.inc You'll get a response from our CTO within 2 hours (10a - 10p PT M-F only). Perks of working with a startup!
- Make sure you understand the caveats
Highly compliant software has a few restrictions that might otherwise be unclear. Check out Key Considerations for pitfalls before you start developing
Most importantly, Archon SDK for Government is only available for NodeJS-based projects at the moment. We're working on wrappers for other languages right now. If you have a favorite, let us know here
1. Ready your development environment
Make sure you have Docker installed as well as npm. They'll be required for using our platform.
Then, run npm install -g @archon-inc/cli to get access to the Archon CLI.
2. Open a project
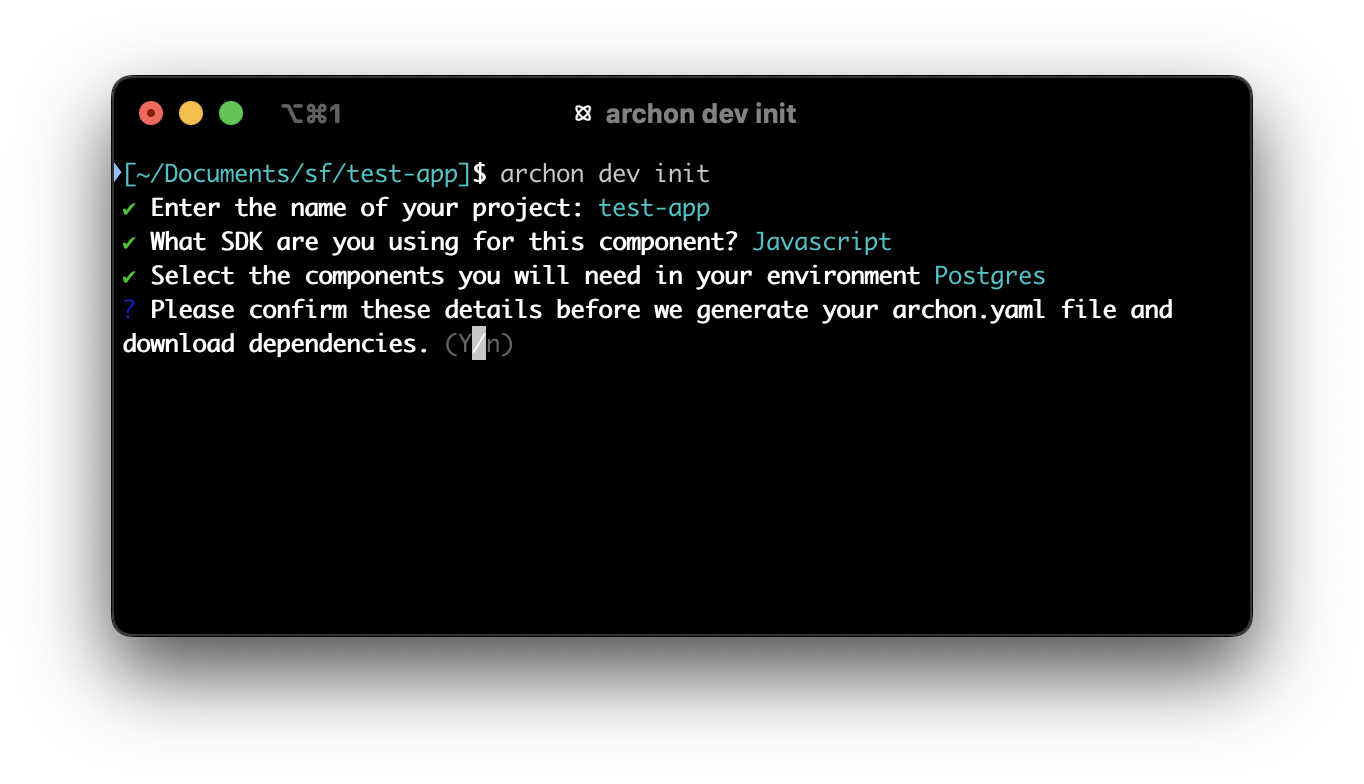
Navigate to the root directory of your project and open a shell. Run archon dev init and follow the prompts to initialize the .archon folder and, most importantly, archon.yaml
3. Create a role
Now that you have the /.archon/archon.yaml file, you'll need to create a role for normal users to access your application with.
Open archon.yaml and add the following snippet to the policy section
policy:
  roles:
    - role: standard-user
      description: A typical user with no special permissions
      privileged: false
4. Configure your start parameters
Also in the archon.yaml file, you can set parameters to control how your app runs when it starts. There are defaults already set that will work for most applications, but check to ensure they are compatible with yours.
orchestrator:
  service-accounts: # [config omitted here]
  components:
  - component: nodejs
      service-account: app
      devCommand: npm run dev # <-- Update your development command if needed
      port: 8000 # <-- Put the port your application listens on here
# [other components omitted]
Archon will execute devCommand to start your app during the next step. For plain NodeJS projects, we recommend using nodemon to allow auto-refreshing of your application during development. Other frameworks typically have a tool for live refresh, which we recommend using here.
Configuration for the orchestrator does not hot reload! If you need to change your port or commands after initial configuration, you will need to run archon dev clear and start from the beginning. This will change in a future release!
5. Run the environment
Run archon dev start to build and run the environment.
Expect this step to take a few minutes (2-6m depending on computer speed)
Once complete, navigate to the administrator UI to continue setup. Click on the User tab on the left. It should look like this: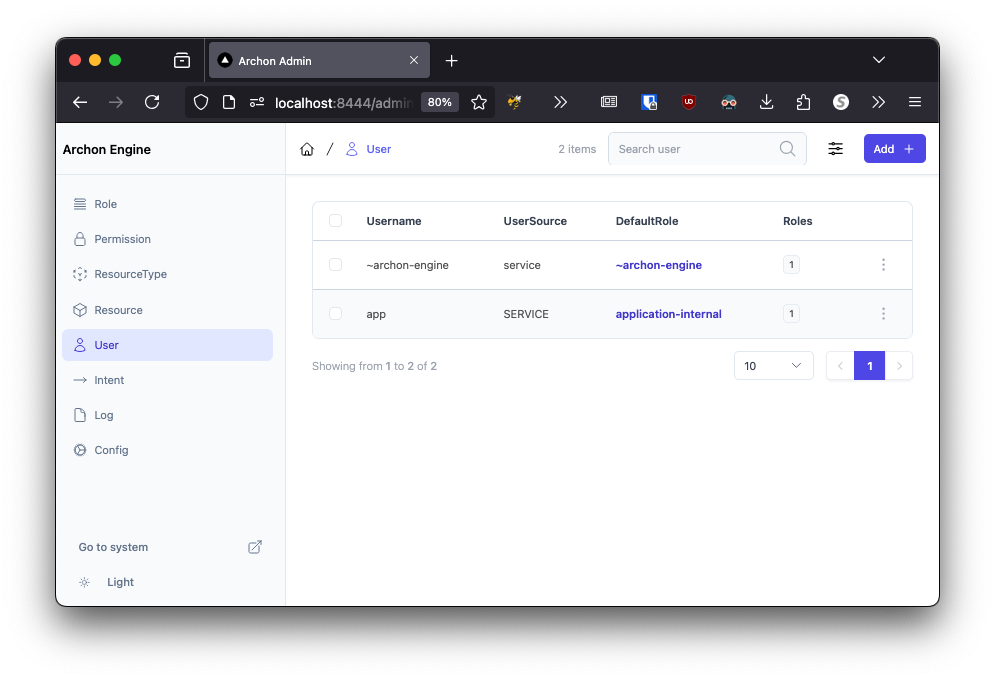
6. Create a user
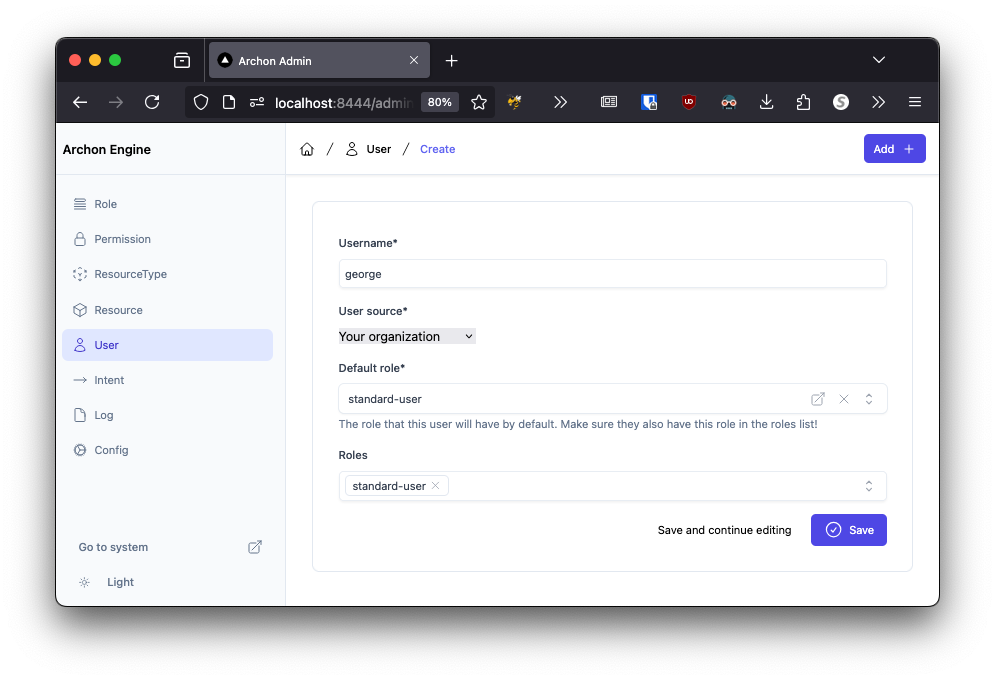
To access your app from beyond the Archon boundary, you'll need to create a user. Press the Add button in the top right and you should see a form like below. Fill it out using the role you created in archon.yaml.
When adding a user via the admin panel, ensure that their default role is included in the Roles list. This will change in a future release!
7. Log into your application
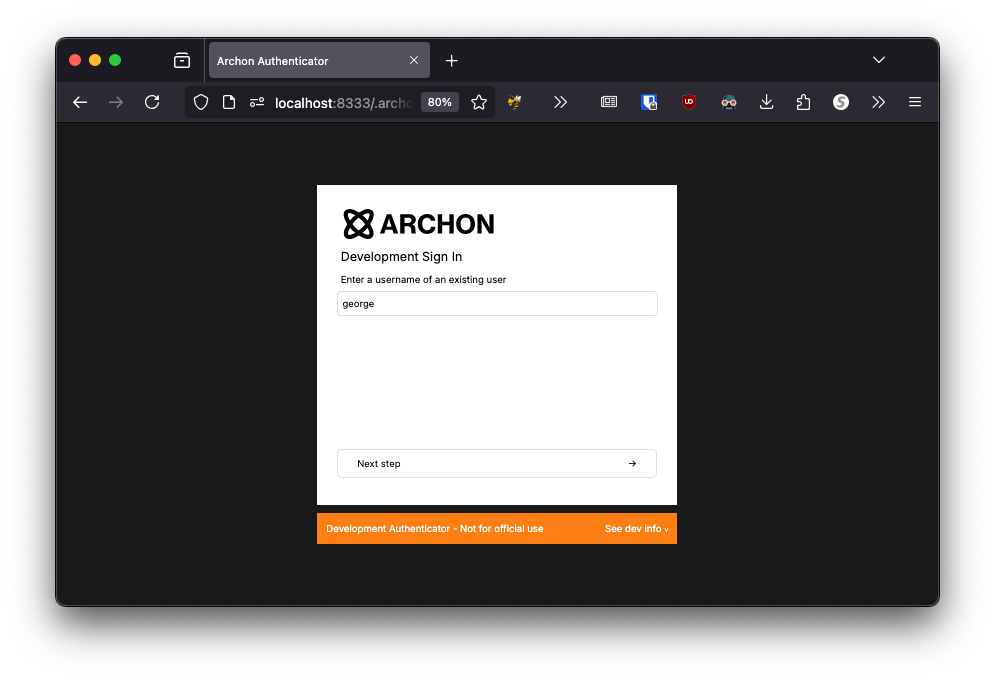
Once you have a user, navigate to your development environment.
Typically, this is at http://localhost:8333.
Follow the prompts to sign in with development credentials.
8. You're done!
You should see your application after authenticating. For example, here's ours!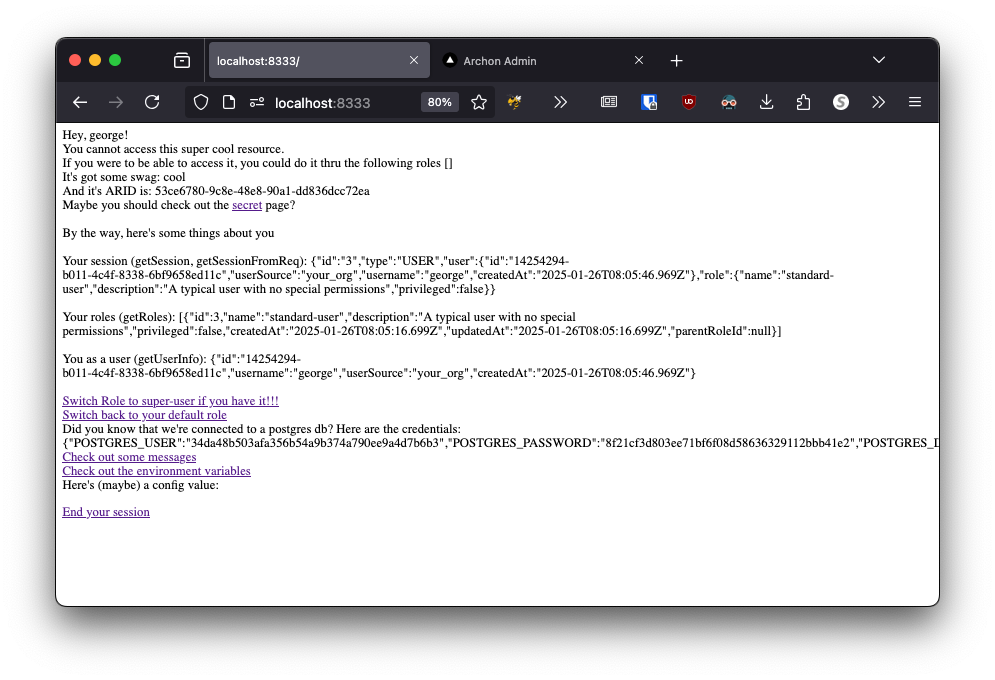 It's beautiful, we know.......
Now that you're done onboarding, you should read these articles next!
Let us know if you run into any issues. Find our contact info at the top of this guide ^